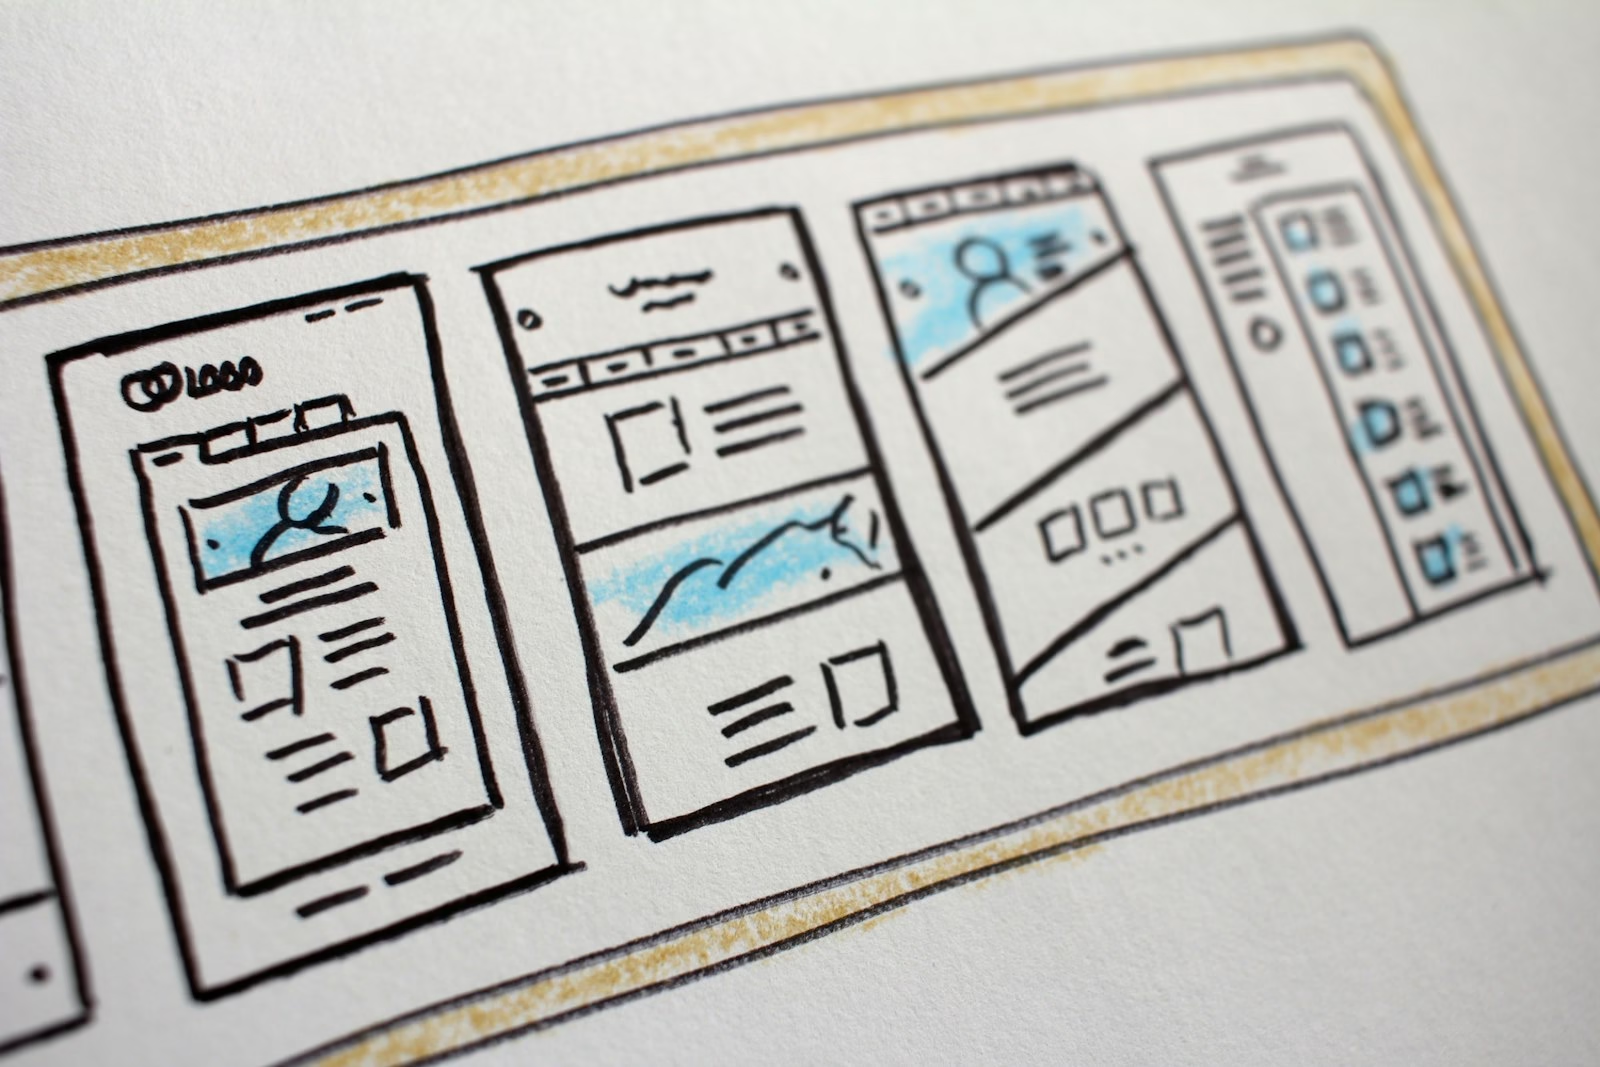
How Do You Make a Figma Wireframe?
To make a Figma wireframe, create a frame from a Phone or Desktop preset, add a column layout guide, block out each section with grey shapes and real text inside auto layout frames, turn repeated parts into components, then link frames on the Prototype tab.
In this guide
Key Takeaways
- A good Figma wireframe is grayscale, uses real headings and labels, and answers one question: does the page structure work?
- Figma now calls layout grids “layout guides”. Use 12 columns for desktop and 4 for mobile, and press Shift+G to toggle them.
- Auto layout and components keep a wireframe editable, so moving a section or changing a button takes seconds instead of minutes.
- A free Figma wireframe kit from the Community and a few Figma plugins remove repetitive work, but check each kit’s license before client use.
- The free Starter plan is enough to learn and to wireframe small projects, with limits on files, version history and team libraries.
The worked example is a simple landing page: header, hero, three feature cards, testimonials, a pricing teaser and a footer. Menu names match the Figma Design interface in 2026.
Step 1: Plan the Page and Pick a Fidelity Level
Decide what the page must achieve and how detailed the Figma wireframe should be before you open Figma. A fixed fidelity level stops you polishing colours while the layout is still wrong.
Write the page goal in one sentence (here: “get visitors to book a call”), then list the sections in order of importance. That list becomes your wireframe. Pull real headings from any content outline or sitemap you already have.
Wireframes, mockups and prototypes are often mixed up. Here is what each one is for:
| Stage | What it shows | Visual detail | Best used for |
|---|---|---|---|
| Low-fidelity wireframe | Section order and rough content blocks | Grey boxes, placeholder lines, no styling | Agreeing on structure quickly, testing several layouts |
| Mid-fidelity wireframe | Real headings, button labels, spacing and grid | Grayscale, one font, real copy where possible | Stakeholder review and handover to visual design |
| Mockup (high fidelity) | Final look: colour, type, imagery, brand | Full visual design | Sign-off on appearance |
| Prototype | How screens connect and respond to clicks | Any fidelity, linked frames | Testing navigation and flows with users |
For most website projects, a mid-fidelity Figma wireframe is the sweet spot: detailed enough to judge hierarchy, plain enough that nobody argues about colour yet. It is also where our UI/UX design in Figma projects start before any visual styling.
Step 2: Set Up Your Figma File
Every Figma wireframe starts in a Figma Design file. Create one from the file browser, name it clearly, and keep desktop and mobile versions on the same page so you can compare them.
If you are on the free plan, know the limits before you start. According to Figma’s Starter plan overview, a Starter team gets three Figma Design and Figma Sites files in total, unlimited drafts, 30 days of version history, and no team libraries or Dev Mode. Drafts are files that have not been moved into a folder, and Starter allows an unlimited number of them, so drafts are the easiest place to practise.
- Name pages by purpose: “Wireframes”, “Components”, “Archive”.
- Name frames by screen: “Home – Desktop”, “Home – Mobile”.
- Save a version before big changes, because Starter history only reaches back 30 days.
Step 3: Create Frames With Device Presets
Every screen in a Figma wireframe lives inside a top-level frame. Press F or A (or pick the Frame tool in the toolbar), then choose a size from the presets in the right sidebar.
- Select the Frame tool with F or A.
- In the right sidebar, open the frame size presets and choose one from the Phone group for the mobile view.
- Pick a preset from the Desktop group for the desktop view and place it next to the phone frame.
- To build a frame freehand instead, click and drag on the canvas to set custom dimensions.
- To wrap layers you have already drawn in a new frame, select them and press Ctrl+Alt+G on Windows or Option+Command+G on Mac.
Start with the phone frame when you can. A narrow screen forces you to rank content, and the desktop layout then expands decisions you have already made.
Step 4: Add a Column Layout Guide
Select a frame and click “Add layout guide” in the Layout guide section of the right sidebar. Figma applies a uniform grid by default, so open the guide settings and switch the type to Columns.
Older tutorials call this feature a “layout grid”. Figma renamed it to layout guides so it is not confused with the Grid flow in auto layout. Column guides have a Count and a Type (Left, Center, Right or Stretch). Fixed types (Left, Center, Right) use a Width and an Offset, while Stretch columns take a Margin and a Gutter. Press Shift+G to show or hide every guide at once.
These starting values suit a typical Figma wireframe. They are common conventions, not Figma requirements.
| Setting | Desktop frame | Mobile frame |
|---|---|---|
| Count | 12 | 4 |
| Type | Stretch | Stretch |
| Margin | 64-80 | 16-20 |
| Gutter | 24 | 16 |
Twelve columns divide evenly into halves, thirds and quarters. In the example, the hero text spans 6 columns, the three feature cards take 4 columns each, and the footer splits into four 3-column groups.
Step 5: Block Out Sections With Auto Layout
Build each section as an auto layout frame so content stacks and reflows by itself. Select the layers for a section and press Shift+A, or click “Add auto layout” in the right sidebar.
- Flow: choose Vertical for stacked content, Horizontal for rows such as navigation, or Grid for card layouts.
- Spacing: set Padding for the space inside the section and Gap for the space between items. Gap can also be set to auto.
- Resizing: use Fill container for elements that should stretch to the frame width, Hug contents for buttons and labels, and Fixed width or height for images and icons.
Keep the Figma wireframe plain: light grey rectangles for images, a crossed box or simple label for media, one font in two or three sizes for hierarchy, and dark grey for buttons. Write real headings and button labels instead of lorem ipsum. Real copy exposes problems early, such as a heading that wraps to four lines on mobile.
Nest all sections in one vertical auto layout frame, and reordering becomes a drag in the Layers panel. Our complete guide to Figma auto layout covers nesting, min and max widths and the Grid flow in more depth.
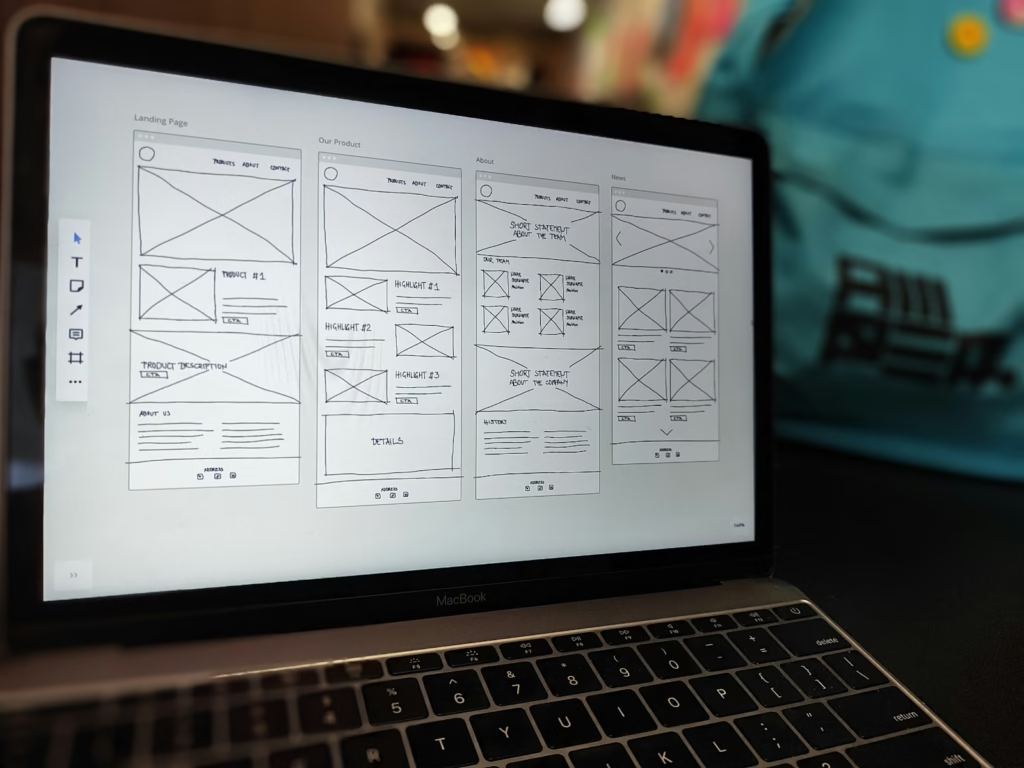
Step 6: Turn Repeated Parts Into Components
Anything that appears more than once in your Figma wireframe, such as buttons, cards, the header and the footer, should become a component. Select the layers and press Ctrl+Alt+K on Windows or Option+Command+K on Mac, or click “Create component” in the right sidebar.
The original becomes the main component, marked with a purple component icon in the Layers panel. Copies you place are instances that stay linked to it, so changing the main feature card updates all three cards at once. Keep main components on a separate “Components” page so nobody edits them by accident.
For structured content such as pricing comparisons or spec lists, a component-based table keeps rows consistent. The step-by-step method is in our guide on how to create a table in Figma.
Step 7: Speed Up With a Figma Wireframe Kit
A Figma wireframe kit is a ready-made file of grey components such as navbars, hero blocks, forms and footers. Find one in the Figma Community, duplicate it into your account, and copy the parts you need into your wireframe.
- Open the Figma Community from figma.com/community or from the Community page in the file browser.
- Filter by “Files and templates” and search for “wireframe kit” or “low fidelity wireframe”.
- Open a result and read its licensing terms, which appear on the file’s Community page.
- Duplicate the file into your account. Anyone with a Figma account can duplicate Community files.
- Copy components from the kit into your own file, or, on a paid plan, publish the kit as a library so the whole team can use it.
The Starter plan has no team libraries, so free users copy the components they need into each project file. Check the license on any Figma wireframe kit before you use it for paid client work, since terms vary from file to file.
Step 8: Run Figma Plugins for Wireframing
Figma plugins automate small, repetitive tasks such as filling text with sample content or inserting icons. To run Figma plugins in Figma Design, open the Tools tab in the left navigation, filter to Plugin, search, open the plugin’s details and click Run.
According to Figma’s plugins documentation, you have to run plugins manually, only one at a time, and they cannot work in the background. Starter users can use them, and organization admins can limit members to an approved list. To rerun the last plugin, press Alt+Ctrl+P on Windows or Option+Command+P on Mac.
Rather than chasing “best plugin” lists, search by the job you need done. These categories help most with wireframing:
- Content and placeholder text: fills names, dates or paragraphs so cards look realistic. Swap in real copy before review.
- Icon libraries: insert simple line icons without leaving Figma.
- Accessibility and contrast checkers: confirm that grey text on grey backgrounds is still readable.
- Layer renaming and cleanup: tidy layer names before you hand the file to a designer or developer.
Before running one, check its Community page for the publisher and recent updates. A few well-maintained Figma plugins beat a long list you rarely open.

Step 9 (Optional): Generate a Starting Draft With Figma AI
Figma AI can generate an editable Figma wireframe from a text prompt. Treat the result as a starting point to edit, not a finished layout.
The legacy route is First Draft: open Actions, choose First Draft, optionally pick a library for a website or mobile app wireframe, describe the screen and click Make it. From May 20, 2026, Figma’s agent became the new entry point for this feature. The legacy First Draft entry point needs a paid plan, while the agent is available on all plans. Both require “can edit” access to the file.
Two limits matter: First Draft cannot use your own design system, and once you close Actions further changes are manual. Prompts that describe common patterns, such as “landing page with hero, three feature cards and pricing”, work best.
Step 10: Turn the Figma Wireframe Into a Clickable Prototype
Link your frames on the Prototype tab so reviewers can click through the flow. Select a hotspot, drag its connection to a destination frame, then use Present to test it.
- Open the Prototype tab in the right sidebar.
- Select a hotspot, such as the “Book a call” button, and drag the connection handle onto the destination. Per Figma’s prototyping guide, the destination must be a top-level frame.
- If the file had no connections yet, Figma makes the first frame a flow starting point automatically.
- Click Present to view the flow and check that every link goes where you expect.
- Use the Share button to send a link, and ask reviewers to leave comments directly on the frames.
Ask reviewers specific questions, such as “Is the main action obvious?” or “Is anything missing before pricing?”

Common Figma Wireframe Mistakes and How to Fix Them
Most problems in a Figma wireframe come from adding detail too early or skipping structure. Here are the common ones and their fixes.
- Colour and brand fonts too early: reviewers judge style instead of structure. Stay grayscale until the layout is approved.
- Lorem ipsum everywhere: fake text hides length problems. Use real headings and button labels, even rough ones.
- Elements not snapping to columns: the guide may be hidden, or the Margin and Gutter do not match your layout. Press Shift+G to show the guides, then adjust Count, Margin and Gutter in the Layout guide section.
- Auto layout items not stretching: the child is set to Hug contents or Fixed. Switch it to Fill container.
- Prototype link will not connect: the destination is a nested frame. Connect to the top-level frame instead.
- No room for a new design file on the free plan: the three-file Starter limit is reached. Work in drafts, archive old files or move to a paid plan.
- Figma plugins missing or blocked: your organization may allow only approved plugins. Ask an admin.
One more structural point: a wireframe also decides heading order, page sections and internal links, which affect how search engines read the finished site. Our explainer on SEO website design basics shows what to plan at this stage.
Next Steps
Once the Figma wireframe is approved, the logical reading order is: first master responsive structure with Figma auto layout, then build data-heavy sections with Figma tables, and finally move into visual design with the ideas in this year’s UI/UX design trends.
If you would rather hand the wireframing, prototyping and visual design to a specialist, our Figma UI/UX design service covers the full process, and the website development team can build the approved design. Send a short brief through the contact page.
Frequently Asked Questions
Is Figma good for wireframing, and can I do it on the free plan?
Yes. Frames, layout guides, auto layout, components, plugins and prototyping are all available on the free Starter plan. The limits are three Figma Design and Figma Sites files outside drafts, 30 days of version history and no team libraries. Drafts are unlimited, so you can learn and wireframe small projects without paying, and upgrade only when you need shared libraries or more files.
Should I wireframe in Figma Design or FigJam?
Use FigJam for early brainstorming, user flows and rough sketches with your team, because its whiteboard tools are quick and loose. Move to Figma Design once you need accurate frames, a column layout guide, auto layout and clickable prototypes. Many teams map the flow in FigJam first, then build the actual Figma wireframe in Figma Design.
Where can I find a free Figma wireframe kit, and can I use it for client work?
Search the Figma Community under “Files and templates” for “wireframe kit”. Anyone with a Figma account can duplicate Community files. Whether you can use a kit for client work depends on the license shown on that file’s Community page, so read it every time. If the terms are unclear, contact the creator or choose a kit with explicit commercial permission.
Which Figma plugins help with wireframing, and how do I run them?
The most useful Figma plugins for wireframing fill placeholder content, insert icons, check contrast and rename layers. To run one, open the Tools tab in the left navigation, filter to Plugin, search, open its details and click Run. Plugins run manually, one at a time, and your organization admin may restrict which ones you can use.
Can Figma AI generate a wireframe automatically?
Yes, as a starting point. First Draft creates editable wireframes from a prompt using Figma-built libraries, and from May 20, 2026, Figma’s agent is the main entry point for this, available on all plans. You need “can edit” access. The output follows common patterns and cannot use your own design system, so expect to adjust structure and content by hand.
How do I set up a 12-column grid for a desktop wireframe?
Select the desktop frame, click “Add layout guide” in the right sidebar, open the guide settings and switch the type to Columns. Set Count to 12 and Type to Stretch, then enter a Margin (for example 64 to 80) and a Gutter (for example 24). Press Shift+G any time to show or hide the guides.
How do I turn a Figma wireframe into a clickable prototype?
Open the Prototype tab in the right sidebar, select an element such as a button, and drag its connection handle onto a top-level destination frame. Figma sets the first frame as the flow starting point if the file has no connections yet. Click Present to test the flow, then share the link so reviewers can comment.